 Skip to content
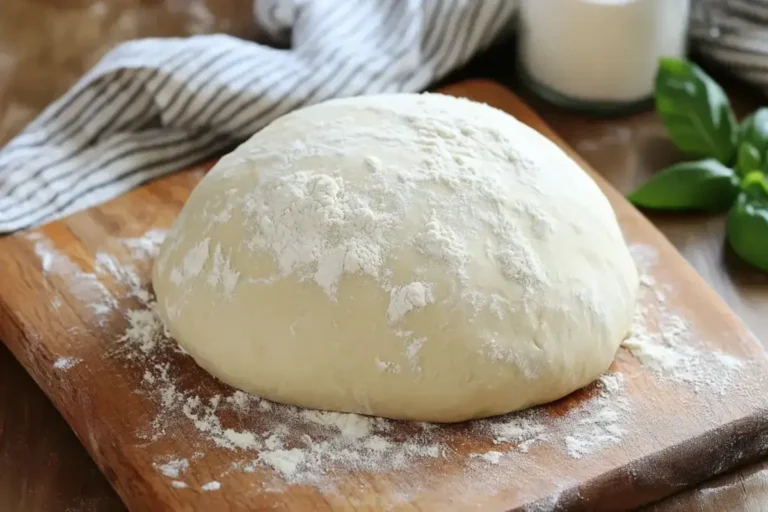
The Science of Perfect Pizza Dough – Achieve the Ideal Crust at Home
Creating the perfect pizza dough may seem like a daunting task, but understanding the science behind it can help you achieve that restaurant-quality crust at home. Whether you prefer a chewy, airy crust or a crispy, thin base, mastering pizza dough is key to creating a pizza that stands out. From the ingredients to the kneading process, every step plays a crucial role in ensuring your dough rises to the occasion. If you’re interested in pairing your homemade pizza with other classic Italian dishes, you might want to check out this recipe for chicken parmigiana, which pairs beautifully with pizza.
In this guide, we’ll delve into the science of pizza dough and explore the techniques and tips needed to achieve the perfect dough every time. Let’s get started by breaking down the core elements of pizza dough.
Ingredients for Perfect Pizza Dough
The ingredients for pizza dough are simple, but each plays an essential role in the structure and flavor of your pizza. Here’s what you’ll need for a basic dough:
- Flour: All-purpose flour works well for most homemade pizzas, but for a chewier crust, bread flour is an excellent alternative due to its higher protein content.
- Yeast: Yeast is responsible for making the dough rise. Active dry yeast is the most common type used for pizza dough.
- Water: The temperature of the water is crucial. Too hot, and it will kill the yeast; too cold, and the yeast won’t activate properly.
- Salt: This enhances the flavor and strengthens the gluten structure.
- Sugar: A small amount of sugar helps feed the yeast and adds a slight sweetness to the dough.
- Olive Oil: This adds moisture and flavor to the dough and helps it stretch more easily.
Recipe for Pizza Dough
- Activate the Yeast: In a small bowl, combine warm water (around 110°F) with sugar and yeast. Stir until the yeast dissolves and let it sit for 5-10 minutes until foamy. If the mixture doesn’t foam, your yeast may be expired, so it’s best to start over with fresh yeast.
- Mix the Dough: In a large mixing bowl, combine the flour and salt. Make a well in the center and pour in the activated yeast mixture and olive oil. Mix until the dough comes together.
- Knead the Dough: Turn the dough onto a lightly floured surface and knead for about 10 minutes. Kneading helps develop gluten, the protein that gives dough its structure and chewiness.
- First Rise: Shape the dough into a ball and place it in a greased bowl. Cover with a damp cloth and let it rise for 1 to 1 1/2 hours, or until doubled in size.
- Shape the Dough: Punch down the dough to remove air bubbles and divide it into two equal portions if you’re making two pizzas. Let the dough rest for 10 minutes before shaping it into rounds.
Understanding the role of each ingredient in pizza dough is crucial to getting the right texture and flavor. If you’re interested in working with dough for other recipes, check out our article on homemade chicken apple sausage, which includes tips on handling and shaping dough for different uses.
The Role of Gluten in Pizza Dough
Gluten is the protein in flour that creates the stretchy, elastic structure of pizza dough. When you mix flour with water and knead the dough, gluten strands form, giving the dough its elasticity. This is why kneading is essential—it helps strengthen the gluten structure, which traps gases released by the yeast during fermentation. This results in a dough that rises properly and has a chewy texture.
However, too much kneading can overwork the gluten, making the dough tough and difficult to stretch. On the other hand, under-kneaded dough won’t have enough gluten to hold its shape, resulting in a dough that may tear easily or fail to rise properly. Knowing how to knead your dough just enough is key to perfect pizza.
For more tips on handling gluten-based dough, take a look at our guide to mastering Yorkshire puddings, which also involves gluten development for a light and airy structure.
Hydration Level and Its Impact on Pizza Dough
The amount of water in your dough—referred to as the hydration level—greatly affects its texture and structure. Higher hydration doughs (those with more water) tend to be stickier but result in a lighter, airier crust. These doughs are perfect for achieving a Neapolitan-style pizza with large air bubbles in the crust.
A lower hydration dough, on the other hand, is easier to handle and roll out but will result in a denser, chewier crust. If you prefer a thin and crispy crust, aim for a dough with around 60% hydration, which means that for every 100 grams of flour, you’ll use 60 grams of water.
The key to adjusting the hydration level is understanding how different types of flour absorb water. For example, bread flour absorbs more water than all-purpose flour, so if you’re using bread flour, you may need to increase the hydration level slightly. This balance is crucial for achieving the perfect texture for your pizza crust.
Fermentation – Why Longer is Better
Fermentation is the process by which yeast breaks down sugars in the dough, producing carbon dioxide and alcohol. This is what causes the dough to rise and develop flavor. While you can make pizza dough in a few hours, allowing the dough to ferment for a longer period—preferably 24 to 48 hours—results in a more flavorful, complex dough.
Cold fermentation, which involves letting the dough rise slowly in the refrigerator, is especially effective at developing flavor. The cool temperature slows down the yeast activity, allowing the dough to rise gradually. The extended fermentation time gives the dough a slightly tangy taste, reminiscent of sourdough.
For more ideas on how fermentation and time can enhance the flavor of your dishes, check out our article on ultimate hamburger soup, which benefits from long, slow cooking to develop rich, hearty flavors.
Shaping and Stretching Your Pizza Dough
Shaping and stretching your pizza dough can be one of the trickiest parts of making pizza at home, but with practice, you’ll get the hang of it. After your dough has risen and rested, gently press it into a round shape with your fingertips, starting from the center and working outward.
To avoid tearing the dough, make sure you don’t overstretch it. If you notice the dough is resisting or snapping back into place, let it rest for a few minutes before continuing. This relaxation period allows the gluten to settle, making the dough easier to work with.
Once your dough is stretched to the desired size, transfer it to a piece of parchment paper for easy handling. This makes it simpler to move the dough into the oven without losing its shape.
For tips on handling other types of dough for baked goods, take a look at our guide on ultimate chocolate brownie cake, where precision in handling the batter results in a perfectly rich and fudgy texture.
Toppings and Baking
When it comes to toppings, the sky’s the limit. Classic options include mozzarella cheese, pepperoni, sausage, mushrooms, and onions. But don’t be afraid to get creative with unique combinations like goat cheese and figs or arugula and prosciutto.
Before adding toppings, preheat your oven to 475°F (245°C) and place a pizza stone or an inverted baking sheet in the oven to heat up. A hot pizza stone will help create that crisp, charred crust you typically find at pizzerias.
To assemble your pizza, spread a thin layer of sauce over the dough, leaving about an inch around the edges for the crust. Add your toppings and then bake the pizza for 10-12 minutes, or until the crust is golden brown and the cheese is melted and bubbly.
If you’re looking for more ways to experiment with toppings, you can check out this egg and potato recipe for an unexpected but delicious twist on pizza toppings.
Conclusion
The science of perfect pizza dough involves understanding the ingredients, mastering gluten development, and fine-tuning hydration and fermentation. By taking your time and using these techniques, you can create a pizza dough that rivals your favorite pizzeria’s crust. Whether you’re a fan of thick, chewy crusts or prefer a thin, crispy base, this guide provides the foundation for making pizza dough at home that will impress every time.
If you’re ready to experiment with more homemade dishes, check out our ultimate guide to creative cooking, where you’ll find tips and inspiration for mastering a variety of recipes in your kitchen.
