Skip to content
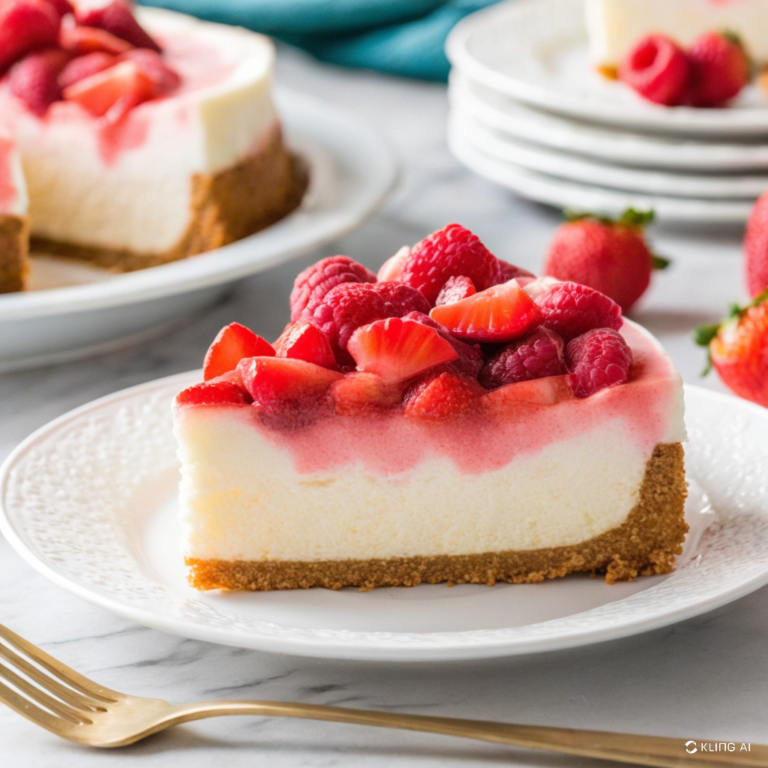
Biscoff Cheesecake Recipe
A Decadent Dessert to Savor
Biscoff Cheesecake has taken the culinary world by storm, becoming one of the most beloved desserts for its unique combination of creamy cheesecake and the rich, spiced flavor of Biscoff biscuits and spread. This indulgent treat is perfect for special occasions or simply when you want to enjoy a luxurious dessert at home. In this article, we’ll dive deep into the process of making a Biscoff Cheesecake, offering detailed steps, tips, variations, and the fascinating history of the Biscoff biscuit. Whether you’re a seasoned baker or a novice, this guide will help you create a show-stopping cheesecake that will impress your friends and family.
The Magic of Biscoff
Before we delve into the recipe itself, it’s worth exploring what makes Biscoff so special. Biscoff biscuits, originally known as Speculoos in Belgium, have a distinct caramelized flavor with a hint of warm spices like cinnamon and nutmeg. These biscuits were traditionally served with coffee, which is where the name “Biscoff” comes from—a portmanteau of “biscuit” and “coffee.”
The unique flavor of Biscoff is what sets this cheesecake apart from other desserts. The combination of the biscuit’s crunchy texture with the creamy cheesecake filling and the spread’s rich, spiced sweetness creates a dessert that is truly irresistible.
The Components of Biscoff Cheesecake
A perfect Biscoff Cheesecake is composed of three essential layers:
- The Biscoff Biscuit Base: This layer provides the crunchy foundation for the cheesecake. It’s made by crushing Biscoff biscuits and mixing them with melted butter. The result is a firm, flavorful base that perfectly complements the creamy filling.
- The Cream Cheese Filling: The filling is a rich, smooth mixture of cream cheese, sugar, vanilla extract, and sometimes Biscoff spread. This layer is where the cheesecake gets its creamy texture and tangy flavor, balanced by the sweetness of the sugar and the unique taste of the Biscoff spread.
- The Biscoff Topping: The topping is where you can get creative. A common choice is to drizzle melted Biscoff spread over the top of the cheesecake, then sprinkle crushed Biscoff biscuits for added texture. You might also add whipped cream, chocolate shavings, or even caramel sauce for an extra layer of indulgence.
Now, let’s go step-by-step through the process of making this delectable dessert.
✉
Subscribe & add Flavour to your Inbox
Step 1: Preparing the Biscoff Biscuit Base
The first step in making a Biscoff Cheesecake is preparing the biscuit base. This is a crucial step because the base provides the structural support for the entire cheesecake, as well as a significant portion of its flavor.
Ingredients and Tools:
- Biscoff biscuits (approximately 300g)
- Unsalted butter (around 100g)
- Food processor or a rolling pin and a plastic bag
- Springform pan (8-9 inches in diameter)
Process:
- Crushing the Biscuits: Start by crushing the Biscoff biscuits into fine crumbs. If you have a food processor, this step is quick and easy—simply pulse the biscuits until they reach a sandy consistency. If you don’t have a food processor, you can place the biscuits in a resealable plastic bag and crush them using a rolling pin. This method works just as well and can be quite satisfying.
- Melting the Butter: Melt the unsalted butter in a small saucepan over low heat or in the microwave. The butter acts as the binding agent that holds the biscuit crumbs together, so it’s important that it’s fully melted and slightly cooled.
- Mixing the Base: Pour the melted butter into the bowl of crushed biscuits and stir until the mixture resembles wet sand. The crumbs should be evenly coated with the butter, ensuring that the base will hold together when pressed into the pan.
- Forming the Base: Pour the buttery biscuit mixture into the bottom of your springform pan. Use the back of a spoon or a flat-bottomed glass to press the mixture firmly and evenly across the base of the pan. Make sure to press the crumbs up slightly around the edges to create a bit of a rim. This will help contain the cheesecake filling later on.
- Chilling the Base: Once the base is formed, place the springform pan in the refrigerator to chill while you prepare the cheesecake filling. Chilling helps the base to set, making it easier to slice and serve later.
Step 2: Crafting the Creamy Cheesecake Filling
The filling is the heart of the Biscoff Cheesecake. It’s where the creamy texture and rich flavors come together to create a dessert that is both decadent and satisfying.
Ingredients:
- Cream cheese (500g, softened to room temperature)
- Granulated sugar (150g)
- Vanilla extract (1 teaspoon)
- Biscoff spread (optional, 2-3 tablespoons for added flavor)
- Heavy cream (200ml)
- Eggs (3 large)
Process:
- Preparing the Cream Cheese: Start by ensuring that your cream cheese is softened to room temperature. This is essential for achieving a smooth, lump-free filling. If your cream cheese is too cold, it won’t mix properly, leading to a lumpy texture.
- Mixing the Base Ingredients: In a large mixing bowl, beat the cream cheese with an electric mixer or a stand mixer fitted with the paddle attachment. Beat on medium speed until the cream cheese is smooth and creamy. Gradually add the sugar and continue to beat until fully incorporated.
- Adding Flavor: Next, add the vanilla extract and, if desired, the Biscoff spread. The Biscoff spread will add an extra layer of spiced sweetness to the filling, intensifying the overall flavor of the cheesecake. Beat the mixture until everything is well combined.
- Incorporating the Eggs: Add the eggs one at a time, beating on low speed after each addition until just combined. Be careful not to overmix at this stage, as overbeating the eggs can incorporate too much air into the batter, causing the cheesecake to crack as it bakes.
- Whipping the Cream: In a separate bowl, whip the heavy cream until soft peaks form. This step lightens the cheesecake filling, making it creamier and less dense. Gently fold the whipped cream into the cream cheese mixture until fully combined.
- Filling the Pan: Once the filling is prepared, remove the springform pan from the refrigerator and pour the filling over the chilled Biscoff biscuit base. Use a spatula to smooth the top and ensure the filling is evenly distributed.
- Baking the Cheesecake: Place the cheesecake in a preheated oven at 160°C (320°F) and bake for about 50-60 minutes. The cheesecake is done when the edges are set, but the center still has a slight wobble. Turn off the oven and let the cheesecake cool in the oven with the door slightly open for about an hour. This gradual cooling helps prevent cracks from forming on the surface.
- Chilling the Cheesecake: Once the cheesecake has cooled to room temperature, transfer it to the refrigerator and let it chill for at least 4 hours, or preferably overnight. Chilling allows the flavors to meld together and the cheesecake to firm up, making it easier to slice and serve.
Step 3: Adding the Finishing Touches
The final step in creating a Biscoff Cheesecake is the decoration. This is where you can get creative and add your own personal touch to the dessert.
Ingredients:
- Biscoff spread (melted, for drizzling)
- Biscoff biscuits (crushed, for sprinkling)
- Whipped cream (optional)
- Chocolate shavings or caramel sauce (optional)
Process:
- Melting the Biscoff Spread: Melt a few tablespoons of Biscoff spread in the microwave until it’s smooth and pourable. Be careful not to overheat it, as the spread can become too thin and lose its rich texture.
- Drizzling the Spread: Remove the chilled cheesecake from the refrigerator and carefully remove it from the springform pan. Drizzle the melted Biscoff spread over the top of the cheesecake.
- Adding Crunch: Sprinkle crushed Biscoff biscuits over the top of the cheesecake. This adds a delightful crunch to each bite, complementing the creamy filling and buttery base.
- Optional Decorations: For an extra touch of indulgence, add dollops of whipped cream around the edges of the cheesecake. You can also sprinkle chocolate shavings or drizzle caramel sauce over the top for additional flavor and texture.
- Serving the Cheesecake: Slice the cheesecake with a sharp knife, Serve chilled, and enjoy the spiced flavors of your homemade Biscoff Cheesecake.
Variations of Biscoff Cheesecake
There are numerous variations you can try to suit different tastes and occasions. Here are a few ideas to inspire your next baking adventure:
- Chocolate Biscoff Cheesecake: Add a layer of melted chocolate on top of the Biscoff base before pouring in the cheesecake filling. The rich chocolate flavor pairs beautifully with the spiced Biscoff, creating a decadent dessert that chocolate lovers will adore.
- No-Bake Biscoff Cheesecake: For a quicker and easier version, skip the baking process and simply refrigerate the cheesecake. This no-bake version has a softer, mousse-like texture that is just as delicious as the baked variety.
- Biscoff Swirl Cheesecake: Create a marbled effect by swirling melted Biscoff spread into the cream cheese filling before chilling. This not only looks impressive but also adds pockets of intense Biscoff flavor throughout the cheesecake.
- Mini Biscoff Cheesecakes: Instead of making one large cheesecake, divide the ingredients into individual portions using a muffin tin. These mini cheesecakes are perfect for parties or as an elegant dessert for a dinner party.
- Vegan Biscoff Cheesecake: For a dairy-free version, use vegan cream cheese and coconut cream in place of the traditional cream cheese and heavy cream. The result is a luscious, plant-based dessert that everyone can enjoy.
- Biscoff Cheesecake Bars: Bake the cheesecake in a square or rectangular pan and cut it into bars for easy serving. These cheesecake bars are great for picnics, potlucks, or as a sweet treat to pack in lunchboxes.
The History and Cultural Significance of Biscoff
The Biscoff biscuit, originally known as Speculoos, has a rich history that dates back to the 17th century in Belgium. Speculoos was traditionally baked in wooden molds that depicted images of saints, windmills, or other symbols, making them popular during religious holidays, particularly St. Nicholas Day.
The recipe for Speculoos was a closely guarded secret, passed down through generations of bakers. Over time, the biscuit became a staple in Belgian households, often enjoyed with a cup of coffee. Its popularity spread to other countries, and in the 1980s, the Lotus brand began marketing the biscuits internationally under the name “Biscoff.”
The introduction of Biscoff spread in the early 2000s revolutionized how the biscuits were consumed. The spread, made from crushed Biscoff biscuits, quickly became a favorite ingredient in baking, inspiring countless recipes, including the now-famous Biscoff Cheesecake.
Today, Biscoff is enjoyed worldwide, not only as a biscuit and spread but also as a key ingredient in a variety of desserts. Its unique flavor profile, combining caramel and spice, has made it a beloved treat for people of all ages.
Tips and Tricks for Perfect Biscoff Cheesecake
Creating the perfect Biscoff Cheesecake requires attention to detail and a few insider tips to ensure the best results. Here are some tips and tricks to help you master this dessert:
- Room Temperature Ingredients: Always use room temperature cream cheese and eggs to ensure a smooth, lump-free filling. Cold ingredients can cause the filling to curdle or become grainy.
- Preventing Cracks: To prevent cracks in your cheesecake, avoid overmixing the batter, especially after adding the eggs. Also, bake the cheesecake at a low temperature and allow it to cool gradually in the oven with the door slightly open.
- Water Bath Method: For an even creamier texture and to further prevent cracks, consider baking your cheesecake using the water bath method. Wrap the bottom of the springform pan in aluminum foil to prevent leaks, then place it in a larger pan filled with hot water. The steam from the water bath helps the cheesecake cook evenly and stay moist.
- Chilling Time: Don’t rush the chilling process. Allow the cheesecake to chill for at least 4 hours, or overnight, to ensure it sets properly and develops the best flavor.
- Slicing Neatly: Use a sharp knife dipped in hot water to slice the cheesecake. Clean the knife between cuts to achieve neat, professional-looking slices.
- Storing Leftovers: Store leftover cheesecake in an airtight container in the refrigerator for up to 5 days. For longer storage, you can freeze individual slices wrapped in plastic wrap and aluminum foil for up to 3 months. Thaw in the refrigerator before serving.
- Customizing the Flavor: Experiment with different flavors by adding a splash of almond extract, a pinch of cinnamon, or a swirl of fruit puree to the filling. The possibilities are endless when it comes to customizing your Biscoff Cheesecake.
Pairing Suggestions for Biscoff Cheesecake
A dessert as rich and flavorful as Biscoff Cheesecake deserves the perfect pairing to enhance its taste. Here are some ideas for drinks and accompaniments that complement this indulgent treat:
- Coffee: Given its origins, it’s no surprise that Biscoff Cheesecake pairs beautifully with a cup of freshly brewed coffee. The rich, roasted flavors of the coffee enhance the caramel and spice notes in the cheesecake, making for a delightful combination.
- Tea: If you prefer tea, opt for a chai or spiced black tea. The warm spices in the tea will mirror the flavors of the Biscoff, creating a harmonious pairing.
- Dessert Wine: A sweet dessert wine, such as a late-harvest Riesling or a Moscato, complements the sweetness of the cheesecake without overpowering it. The acidity in the wine also helps balance the richness of the dessert.
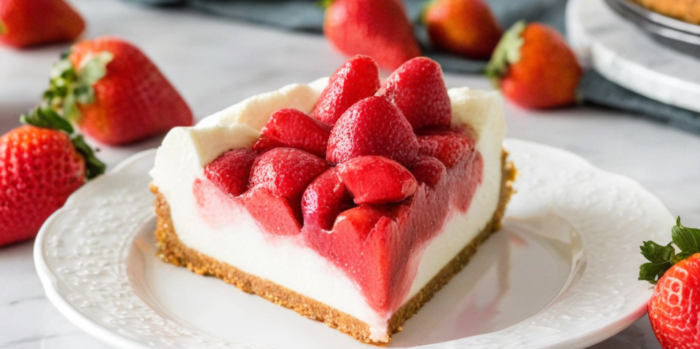
- Fruit: Fresh berries, such as raspberries or strawberries, provide a tart contrast to the creamy cheesecake. You can serve the cheesecake with a side of berries or even make a berry coulis to drizzle over the top.
- Whipped Cream: A dollop of lightly sweetened whipped cream adds a light, airy texture that contrasts with the dense, rich cheesecake. You can also flavor the whipped cream with a hint of vanilla or cinnamon for an extra layer of flavor.
- Ice Cream: For an extra indulgent dessert, serve a slice of Biscoff Cheesecake with a scoop of vanilla or caramel ice cream. The cold, creamy ice cream pairs perfectly with the cheesecake’s smooth filling and crunchy base.
Conclusion
Biscoff Cheesecake is more than just a dessert—it’s a culinary experience that brings together rich, creamy textures and the warm, spiced flavors of Biscoff biscuits. Whether you’re making it for a special occasion or simply to satisfy a sweet craving, this cheesecake is sure to impress. With its crunchy biscuit base, luscious cream cheese filling, and decadent Biscoff topping, this dessert is a true crowd-pleaser.
By following the detailed steps and tips provided in this guide, you’ll be able to create a perfect Biscoff Cheesecake every time. Don’t be afraid to experiment with variations and customizations to make the recipe your own. Whether you enjoy it with a cup of coffee, a glass of dessert wine, or a side of fresh berries, Biscoff Cheesecake is a treat that will leave a lasting impression on anyone who tries it.